
The days of munching on a bargain box of chicken and chips from KFC smothered in ketchup (I thought I was too sophisticated for the likes of Chicken Cottage or anything ‘cheaper’), are long behind me. But I still miss the crunchy coating and juicy chunks of white meat from that greasy cardboard box; I didn’t really care to know which 11 herbs and spices the Cornel chose to dunk and fry my precious chicken thighs in, I was just happy they bothered to season it at all.
All these years I have been satisfied with, well good fried chicken that tasted amazing, but never had the KFC combination of crispy, juicy and finger lickin’ tasty…time and time again. Maybe that’ been your experience too: just how do they do it? Well I think I have the answer.
Here’s the breakdown:
Stage 1 - The Chicken:
For this type of recipe, it makes more sense to avoid the chicken breast and wings; chicken breast has too little flavour and takes way too long to cook. While the wings have too little meat to really soak up the marinade. So you’re left with legs and thighs I’m afraid. For the recipe pictured, I used boneless and skinless thighs which I cut again into halves.
Stage 2 - The Water Bath
After having cleaned your chicken (with a combination of distilled vinegar, lime and or salt, rinsed through with water). Its time to give the chicken a good soak. This is probably the most important stage of the whole process - if you want to achieve juiciest, plump hunks of meat, then a water bath is key.
By water bath, I mean brine, salty brine. When chicken is soaked in brine, the salt dissolves protein in the meat’s muscle, making it looser so that it can retain more moisture. Also, the longer the chicken sits in the brine the deeper the brine will penetrate into the meat. This means built-in seasoning before you even start coating it!
I recommend a full 6 hours submerged in a salt/sugar-water based brine. Here is a suggested water bath to use:
1/4 cup Dijon Mustard
1/4 Cup Brown Sugar
1 medium white onion finely chopped
3 garlic - crushed
1 tbsp Worcestershire sauce
2 -3 cups of water
Fresh herbs
3 tsp salt
- Fry the onion and garlic until soft, add the sage leaves and then the brown sugar and mustard until it dissolves. Add the remaining ingredients including the water. Allow it to simmer for 5 minutes and cool completely before pouring over the raw chicken. Marinate in water bath overnight.
Stage 3 -The Milk Bath
Some recipes combine the water with the milk bath (by milk I mean buttermilk). I prefer to separate the two as I don’t like the tangy flavour that the buttermilk leaves the chicken with once cooked. What the milk bath does is add an extra layer of tenderness to the meat, here is also where you can knock yourself out with bolder flavours.
I recommend only 4 hours submerged a butter milk mixture. I suggest adding variations of the following: smoked paprika powder, onion powder, garlic paste, thyme, black pepper, fresh herbs.
Be sure that you transfer and drain the chicken from the water bath before transferring it to the milk bath.
Stage 4 -The Coating
Now you are more than half way there. This stage is very easy provided you remember this combination: 3:1. That is 3 cups of self-raising flour to one cup of cornstarch. Yes that’s right - the key to KFC’s bubbly textured chicken is cornstarch. You want a crispy coating, therefore you need the juices of the chicken to remain encased in the chicken without making the coating doughy or too hard. Cornstarch acts like a sponge - absorbing the moisture without forming a tight dough around the chicken. Also the raising agents in the self-raising flour means you form a lighter, crisper coating.
I recommend the 3:1 combination, with any added dried herbs and spices you wish.
Stage 5- The Double Dip
So this is your chicken conveyor belt:
- Butter-milked chicken
- Bowl of plain flour
- Bowl of 2 eggs whisked with dash of milk and 2 tbsp of the buttermilk mix in 1.
- Large bowl of the 3:1 flour
Ideally you need a deep fat fryer (at 170-175C), or a deep-frying pan of hot oil (no more than 4-5″deep). I used a fryer for this recipe. Once the oil has reached the desired temperature you begin the 1-4 sequence above. Make sure you shake off as much of the butter-milk from the chicken at the beginning as you can. Once the chicken as reached 4, placed it in a lightly floured plate for 2 minutes before transferring to the fryer for 6 minutes (or longer if meat is on the bone). This will give the flour and egg time to bind with the chicken. Don’t worry if the flour at level 4 starts to get lumpy this is good! This is exactly how you achieve the crispy outer coating we all love on our chicken!
If need be, you can finish the chicken off cooking the chicken in the oven once it has left the fryer.
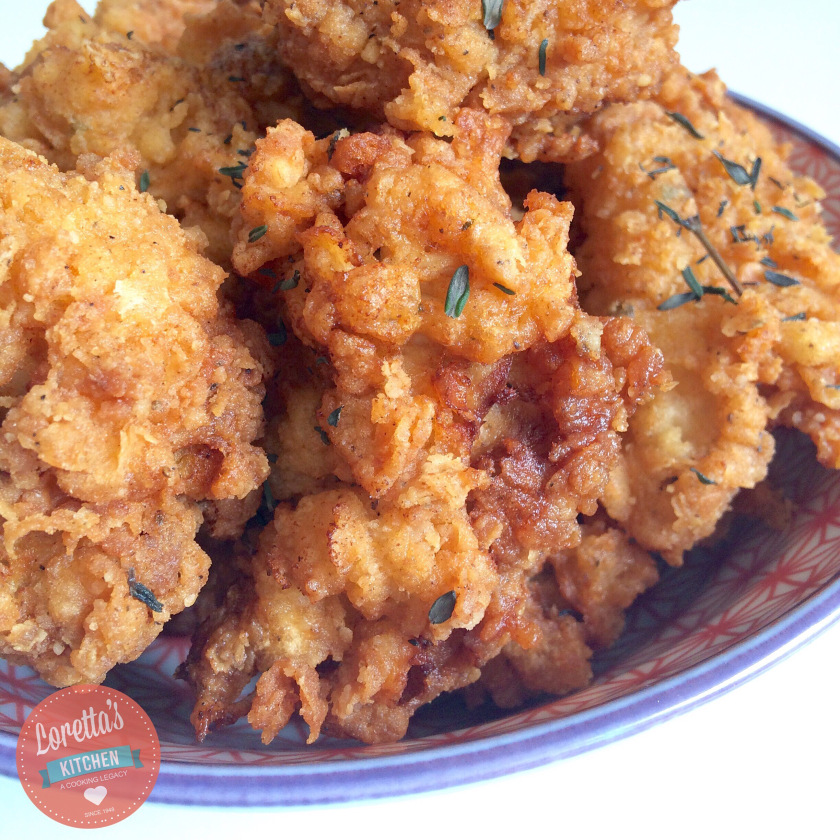
You won’t regret this…

AWESOME Job Rai! Your fried chicken looks absolutely perfect, thank you for breaking it all down for us in method 😉
LikeLiked by 1 person
🙂
LikeLiked by 1 person
Pingback: Suya Popcorn Chicken | Loretta's Kitchen